Winter Whitewater Raft Maintenance: Prep for the Season (and The Lottery Permit You Land!)
Winter might mean fewer days on the water, but it’s the perfect time to give your whitewater raft some TLC. With lottery permits soon to be announced and dream trips on the horizon, taking care of your raft now ensures it’s ready for adventure when the river is ready. Here’s a step-by-step guide to maintaining your raft during the off season.
Step 1: Clean It Up
A thorough cleaning is the first step to assessing and maintaining your raft.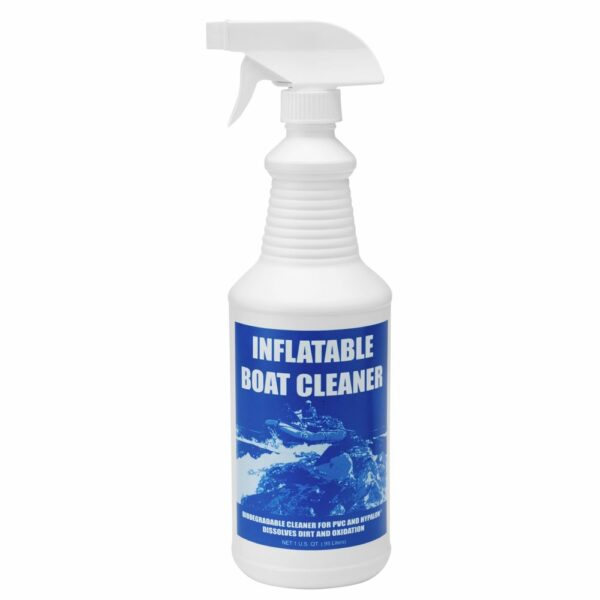
- Rinse: Use a hose to remove dirt, sand, and debris. Pay special attention to seams and crevices where grit can accumulate.
- Scrub: Apply biodegradable Inflatable Boat Cleaner, available here at Tumalo Creek, or warm soap and water. Use a soft brush or sponge to scrub the raft and avoid harsh chemicals that could degrade the material.
- Dry: Let your raft dry completely before moving on to the next step. This helps prevent mold and mildew growth during storage.
Video – NRS How To: Clean and Store Your Inflatable Boat
Pro Tip: Some rafts, such as those from Aire and Tributary, are equipped with internal bladders. Unzip the tubes and floor to thoroughly clean and dry the interior. Be sure to clean the zippers carefully before reassembling the raft.
Step 2: Inspect for Damage
Once your raft is clean and dry, give it a detailed inspection.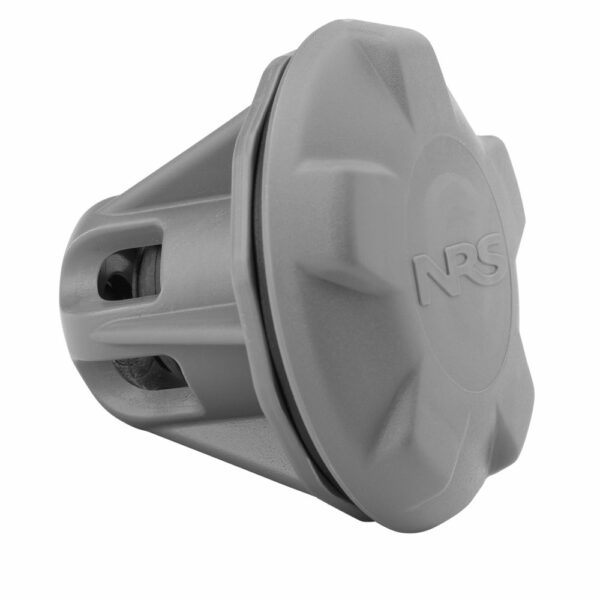
- Check for Leaks: Inflate your raft fully and listen for hissing sounds. Spray soapy water on the seams and valves to spot tiny leaks – any bubbles will indicate trouble.
- Examine Seams and Fabric: Look for wear, tears, or delamination on the tubes and floor.
- Inspect Valves: Ensure all valves are functioning smoothly and not leaking air.
Pro Tip: Slow, hard-to-find leaks often come from the valve. Spray soapy water in and around it to find the leak. Bubbles on the exterior of the valve mean the valve needs tightening, while bubbles inside usually indicate a leaky diaphragm. Clean or replace the diaphragm, or simply replace the valve if needed.
Video – Aire How to Identify Valves
Video – NRS Find and Fix Valve Leaks
Common valves we stock:
Step 3: Repair and Patch
Address any issues you found during the inspection.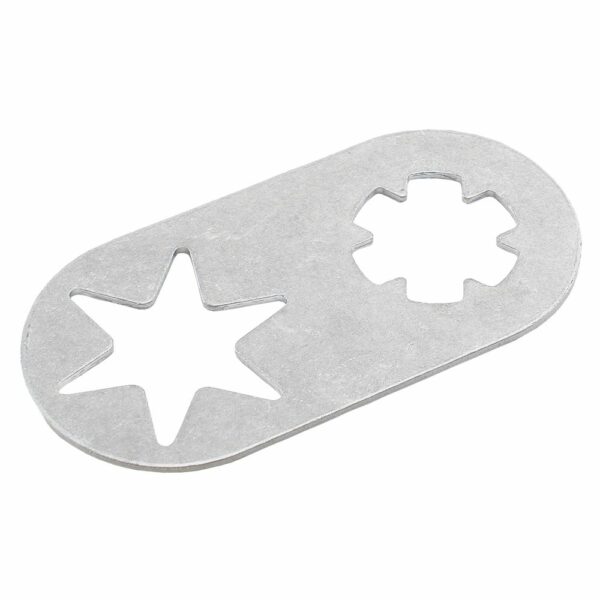
- Patch Small Holes or Tears: Use a repair kit specific to your raft’s material (PVC or Hypalon). Follow the manufacturer’s instructions carefully for a durable repair.
- Replace Valve Components: If a valve is sticking or leaking, use a valve wrench like the Leafield C7, D7 & A6 Valve Wrench or Halkey-Roberts Metal Valve Wrench to disassemble and clean it. Replace any worn parts or the valve if necessary.
- Reinforce Worn Areas: Apply wear patches to areas that experience high friction, like frame contact points.
Video – NRS Hypalon Repair & PVC/Urethane Repair Video
Step 4: Check Your Frame and Accessories
Your raft isn’t the only gear that needs attention.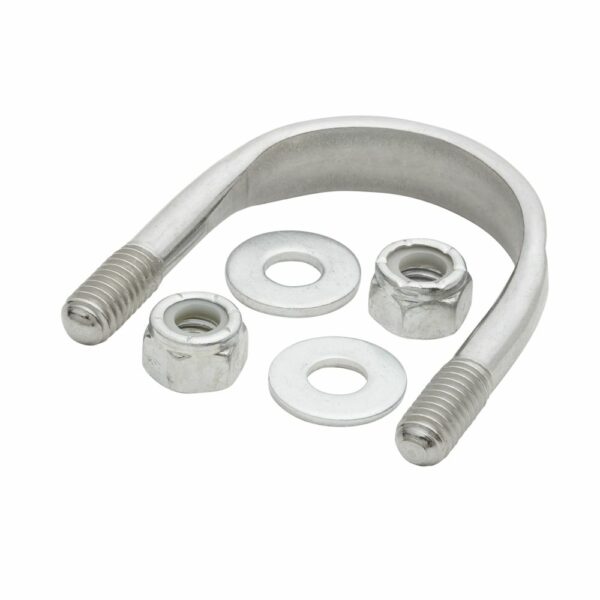
- Frame: Inspect for rust, loose bolts, or cracks in welds. Tighten and repair as needed.
- Oars and Blades: Check for splinters, cracks, or bends & replace worn oarlocks.
- Straps and D-rings: Look for fraying or UV damage. Replace any weak points.
- Pump: Ensure your pump is in working order, has no leaks, is clean, and lubricated.
Video – Down River Equipment, Barrel Pump Maintenance
Pro Tip: Keep a repair kit stocked with more than glue and material. Consider including spare frame hardware, oar locks, zipper pules, pump grease and gaskets, and anything else you may need to replace while on the water.
Step 5: Store Properly
Proper storage is key to extending the life of your raft.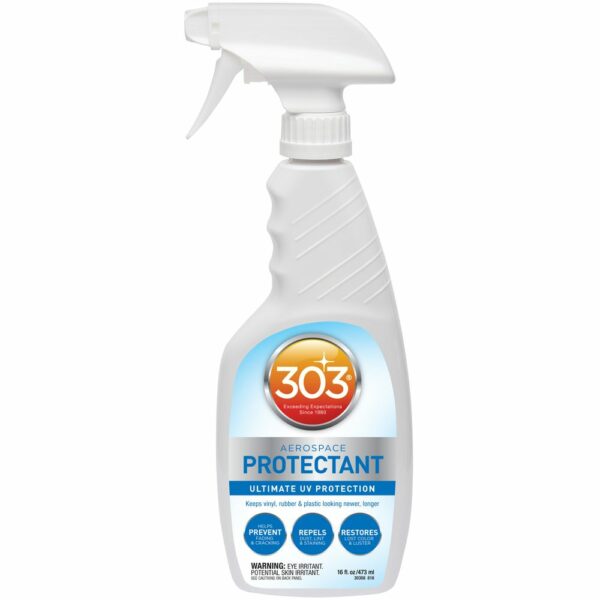
- Store Inflated: If you have the option keeping your raft stored inflated is the best option. Partially deflate your raft to relieve pressure but keep it firm enough to hold its shape.
- Keep Off the Ground: Use a tarp, rack, or foam blocks to keep your raft off the cold, damp ground.
- Avoid UV Exposure: Store your raft in a cool, dry place away from direct sunlight. Apply 303 UV protectant periodically for hypalon and urethan and sparingly with PVC (1-2 times a season), to help prevent UV damage while on the water.
- Temperature Matters: Avoid extreme temperature fluctuations, which can degrade the material over time.
Pro Tip: We see more rodents damage rafts while in storage than rafts damaged on the water. Be mindful of rodents and store your raft in a location they can’t access. Check your equipment regularly and make sure to evict any rodents that have taken residence in your boat.
Step 6: Plan for the Season
While you’re in maintenance mode, start planning for your upcoming trips.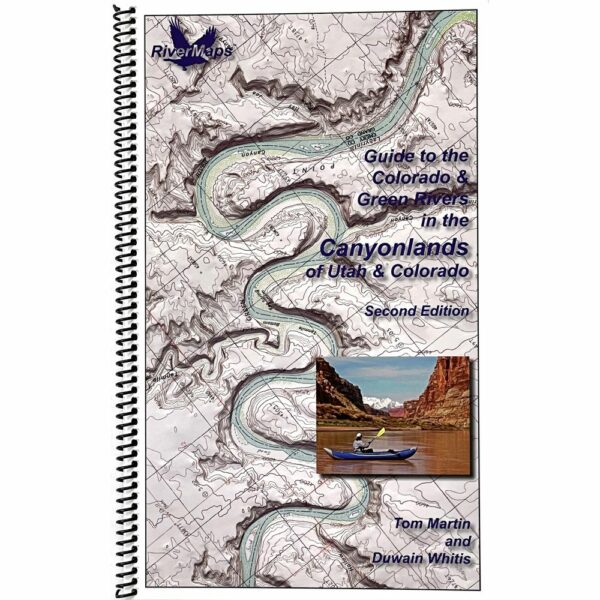
- Organize Gear: Check your dry bags, PFDs, throw ropes, and first aid kits. Replace expired items or worn-out gear.
- Plan for Success: If you’ve landed a coveted lottery permit, review the gear and logistics required for that trip.
- Set Goals: Whether it’s a multi-day expedition or tackling a new rapid, set your paddling goals for the season.
Boating Requirements:
- Middle Fork of the Salmon
- Colorado River, Grand Canyon
- Yampa and Green Rivers
- Lower Deschutes River
- John Day River
- Rogue River
Ready, Set, Paddle!
At Tumalo Creek, we believe that the key to a successful paddling season starts with proper maintenance. By taking the time to care for your raft now, you’ll be ready to hit the water with confidence, whether you’re exploring a familiar route or tackling a new adventure. Our expert staff is here to offer guidance and ensure your equipment is in top condition, so you’re always prepared for whatever the water throws your way.
Need maintenance advice or supplies? Visit us at Tumalo Creek, our knowledgeable team is ready to help you get your raft in prime shape for the season ahead!


